
EpicHRM

EpicHRM user manual

The next right click, made obvious.

A practical guide for employees, managers, HR teams and company admins. Start with your role, then follow the workflow you need today.

The daily loop

Open. Check in. Act. Leave.

EpicHRM keeps the high-frequency work close: today’s attendance, what needs your decision and the records you need to finish the day.

  • Passkey-confirmed attendance
  • Approvals that always show their next person
  • Balances, payslips and documents in one place
The dashboard puts today first: attendance, approvals, people and the records that need attention.

For employees

Your everyday work lives on My day.

01

Sign in or accept your invitation

Use the same email your admin invited. If you belong to more than one company, use the company menu at the top to switch.
02

Add a passkey before your first punch

Open Profile → Passkeys and add Face ID, fingerprint, Windows Hello or your device PIN. EpicHRM never receives the biometric itself.
03

Check in and check out

From the dashboard, choose Check in. Confirm with your passkey. At the end of the day, choose Check out; the app shows your time worked.
04

Request leave or an expense

Open Leave or Expenses, choose the type/category, add the dates or receipt, then submit. Follow the status from the same page.
Employees see their day, balance, latest payslip, announcements and quick actions without opening a full HR workspace.

Daily work

Handle time, leave and updates without losing the thread.

Attendance corrections

Forgot to check in? On Pro and above, open Attendance → My attendance, select the date and request a correction. It goes to the configured approver.

Leave

Your balance skips weekends and company holidays. Choose a leave type, select dates, add a note if useful and submit. A pending request can be cancelled before it is decided.

Announcements and notifications

Announcements can be for everyone or targeted to your branch, department or employee group. The bell points you to decisions, payslips, paid claims and requests that need you.

What happens when you are offline?

The app keeps the last good read-only responses available and shows a clear offline banner. Wait for the connection before relying on a new write.

HR and managers can review daily attendance, late minutes and hours worked.
Leave balances, requests and statuses stay together.

People & teams

Keep the organization current, from first invite to reporting line.

01

Set the structure

Create branches, departments and designations first. The organization chart and directory use these records.
02

Add the employee

Use the four-step Add employee form: personal details, employment, access and review. Save as a draft when the record is not complete yet.
03

Choose access carefully

Invite their email and assign a role. Managers see their reporting line; employees see their own records and the directory.
04

Maintain the profile

Use the profile tabs for job, payroll, attendance, leave, documents and history. Reassign direct reports before terminating someone.
Search and filter the people in your scope by status, department, designation, branch and employment type.
A profile brings the employee record and its related history together.

For managers

Make team decisions without becoming HR.

Open My Team to see who is in, late or on leave today. Your scope follows the reporting line, so you do not need to filter the whole company down by hand.

Open Approvals to review leave requests, expense claims and attendance corrections. Read the request, check the approval chain and choose Approve or Reject with an optional comment. Nobody can decide their own request.

See the approval workflow
Managers get a focused view of their reporting line and approved or pending team leave.

Approvals

Every request knows who it is waiting on.

01

Open the inbox

Approvals collects leave, expense and attendance correction requests in one place.
02

Review the context

The request shows the person, dates or amount, comments and the chain of people who have already decided.
03

Decide

Choose Approve or Reject. The next approver gets the request automatically; the requester sees the decision in their records and notifications.
04

Configure the chain

On Pro and above, admins configure multi-step workflows under Administration → Approval Workflows, for example manager then HR.
Approvals makes the next action visible instead of hiding it inside email threads.

Finance · Enterprise

Run payroll only after the month is ready.

01

Set salary structures

Add salary components and an employee salary version before creating the run.
02

Create the month

Payroll uses finalized attendance, approved leave and the employee’s salary data. People without a usable salary structure are called out.
03

Review and adjust

Check deductions, unpaid or absent days and individual adjustments. Then choose Approve.
04

Lock and publish

Lock the approved run, then publish payslips. Employees see nothing until the run is published.
Payroll keeps the review, approval, lock and publish states explicit.
Employees can view each published payslip and download it as a PDF.

Workspace

Keep documents, expenses and insight close to the work.

EpicHRM Documents

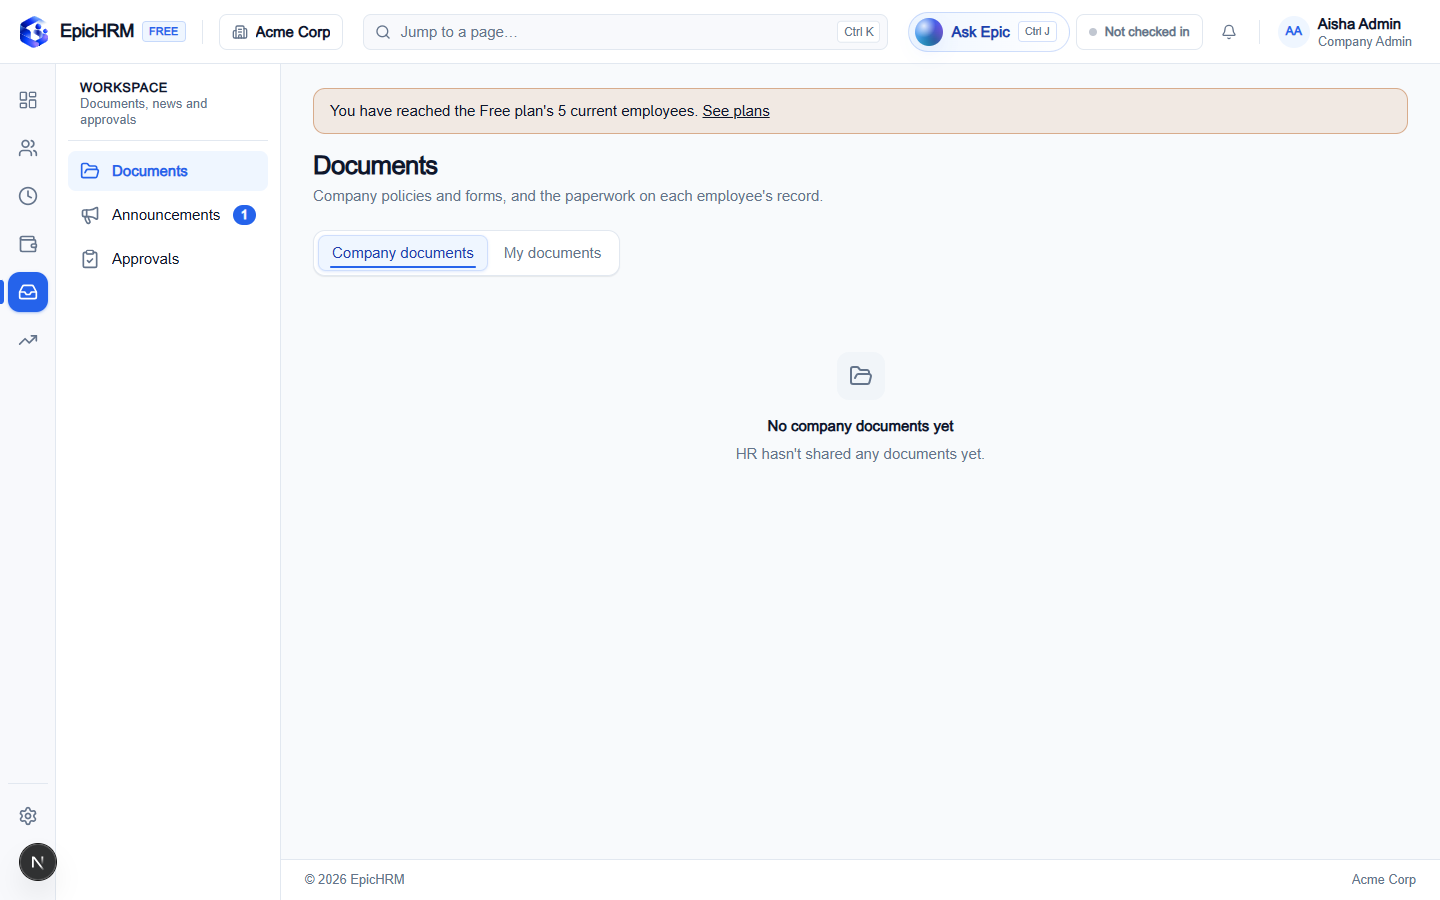
Documents

Company policies, employee papers and your own uploads. HR can mark a document HR-only or visible to the employee.
EpicHRM Expenses

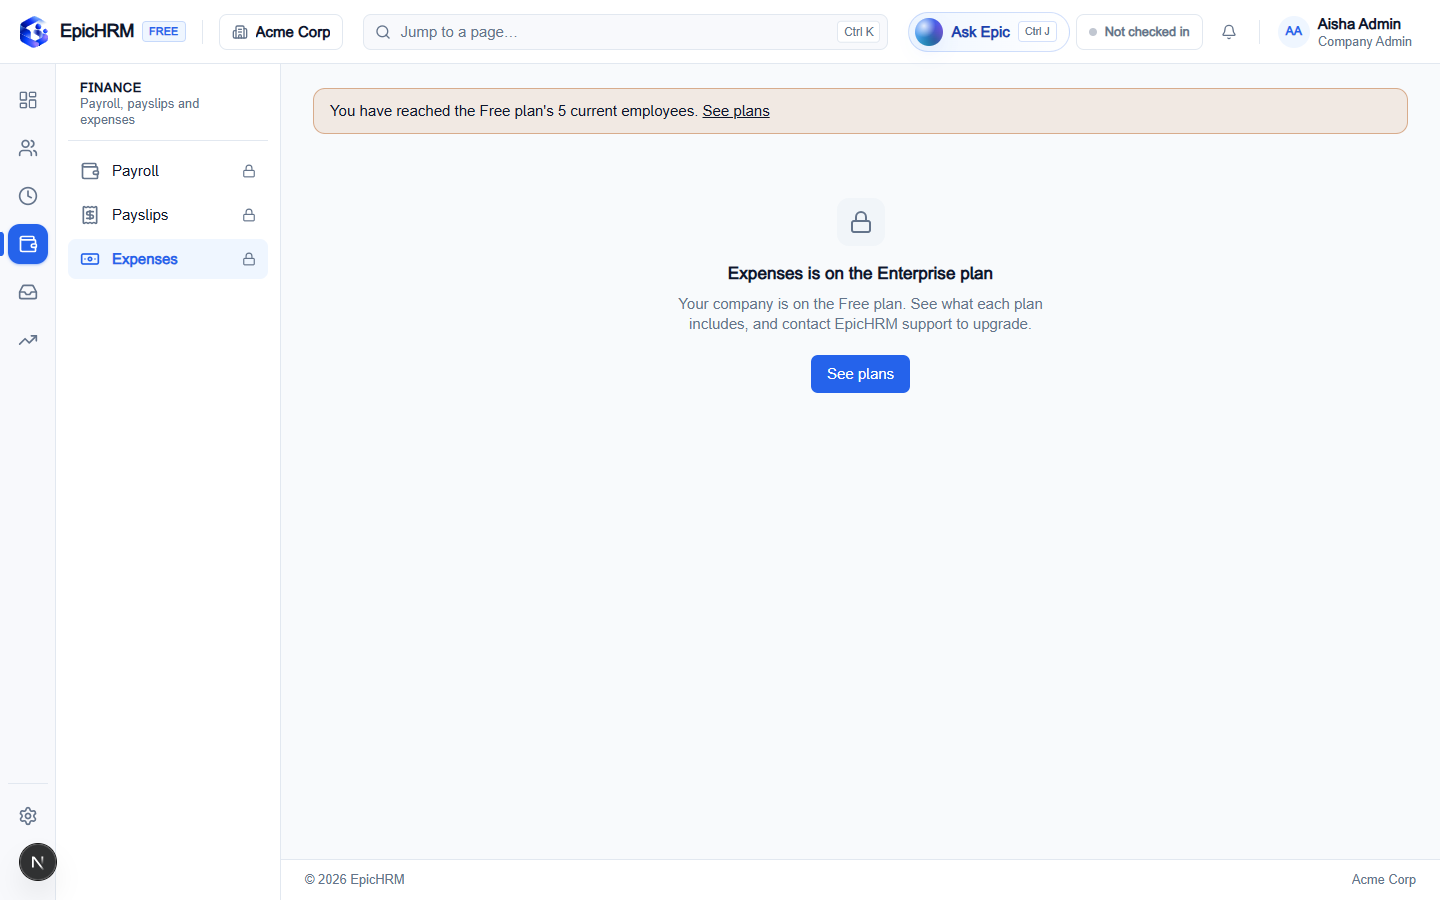
Expenses

Create a claim, choose the category, attach the receipt and submit. After approval, HR marks it paid.
EpicHRM Reports

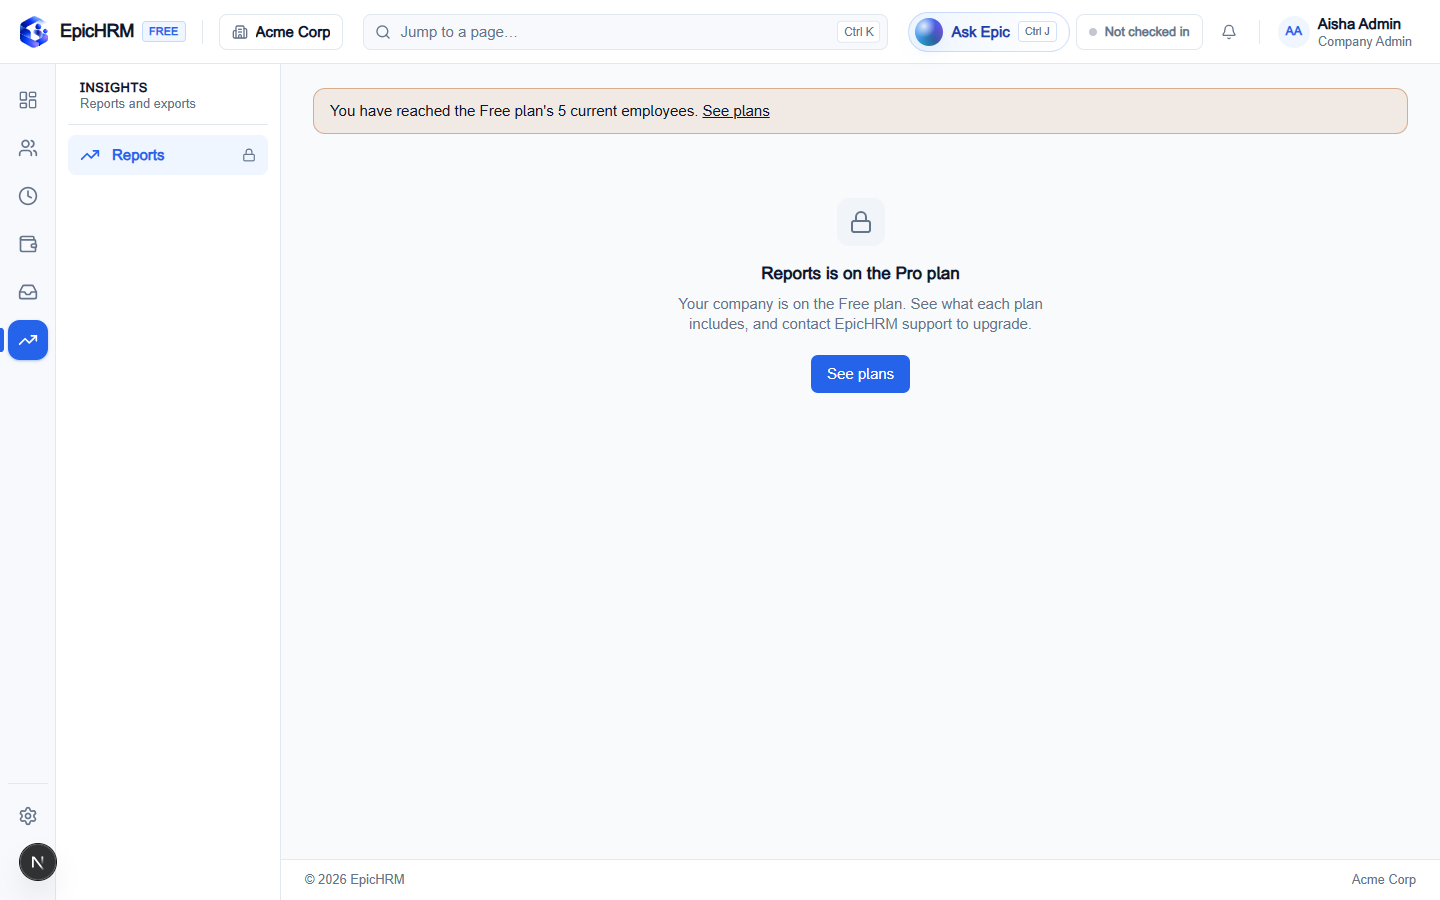
Reports

Pro and above includes headcount, attendance, leave, payroll and expense reports with filters and CSV export for admins and HR.
EpicHRM Plans

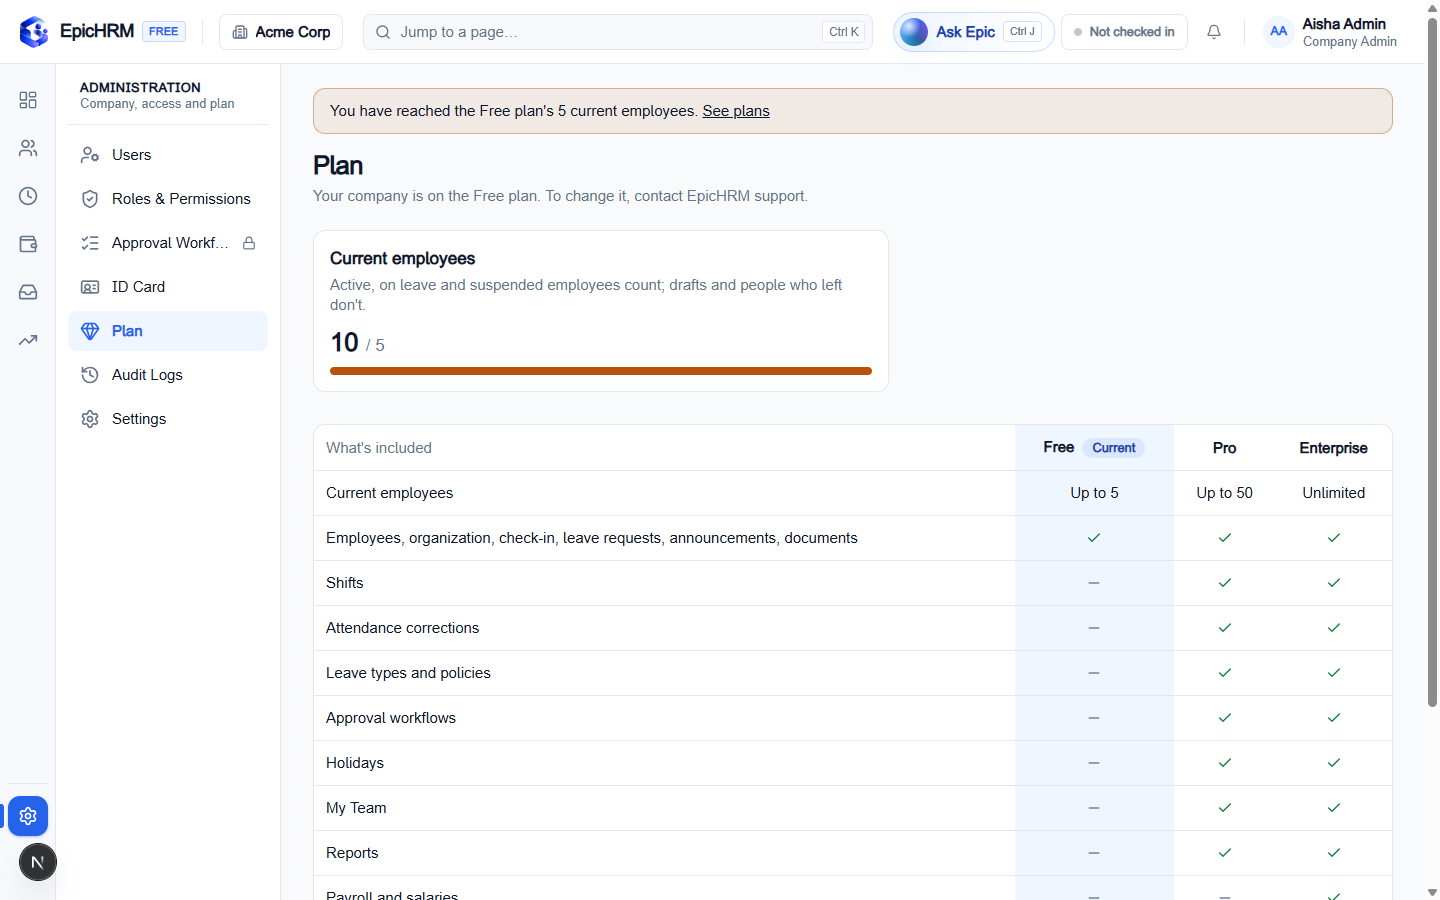
Plans

Free supports up to 5 current employees, Pro up to 50 and Enterprise is unlimited. Locked modules explain which plan unlocks them.

Administration

Set the rules once, then let the system carry them.

01

Invite users

Under Administration → Users, invite someone, change a member’s role, revoke an invitation or deactivate access.
02

Use roles and permissions

The built-in roles are Company Admin, HR Manager, Manager and Employee. Enterprise admins can clone a role into a custom scope.
03

Review the audit log

Employee, access, payroll, document and plan changes record who made them and when.
04

Complete company settings

Set company details, country, time zone, currency, date format and the first day of the week. Then check Plan for limits and included modules.
05

Use a company domain when enabled

Your deployment may provide an EpicHRM subdomain and one verified custom hostname, such as hr.acme.com. Enter the exact hostname in domain settings, copy the displayed DNS records and wait for both hostname and TLS status to become active. Never change mail or MX records.
Permissions keep access legible: every role has a clear scope and set of actions.
When a plan does not include a module, EpicHRM explains what is needed instead of breaking the page.

Need a hand?

Start with your role, then let the product guide the rest.

If your screen looks different, your role or plan may be different. Ask your company admin to check your membership and permissions.